Skip to main content
bitbybit home page
Search...
⌘K
Support
Support
Search...
Navigation
Creating & Editing Link
How to Add a Divider
bitCRM
bitChat
bitLogin
bitApp
bitLink
bitAI
Settings
AI Studio
Creating & Editing Link
How to Add a New Link
How to Add an Image Section
How to Add a Text Section
How to Add a Divider
How to Add a Shoppable Link
How to Add a WhatsApp Section
How to Embed a YouTube Video
How to Add Social Media Icons
How to Delete a Link
How to Arrange Your Links
How to Archive a Link
How to Add a Mailing List Button
Designing Link Page
How to Upload Your Store Profile Photo
How to Add or Edit Your Store Bio
How to Use a Preset Theme for Your Link Page
How to Customize Your Link Page's Theme
Sharing Your Link
How to Edit Your Link URL
How to Share Your bitLink to Social Media
How to Preview Your Link in Real Time
On this page
Step 1: Access Your bitLink Dashboard
Step 2: Add a New Section
Step 3: Choose Your Divider Style
Step 4: Preview
Creating & Editing Link
How to Add a Divider
Copy page
Copy page
Use the Divider feature in bitLink to organize sections on your page and improve readability. Dividers visually separate content, making your bitLink page look neat and professional. Here’s how to add and style your Divider in just a few steps.
Step 1: Access Your bitLink Dashboard
Log in to your
bitLink dashboard
.
Step 2: Add a New Section
Click on “Add Section” and select “Divider”.
Click on “Add Section” and select “Divider”
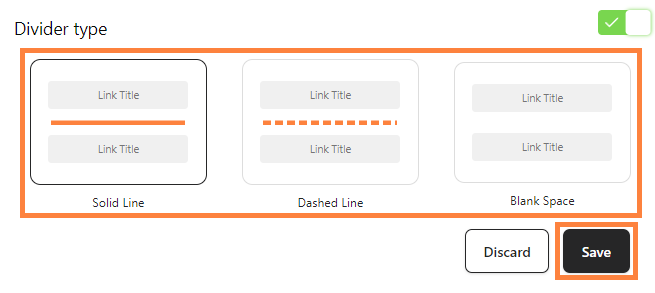
Step 3: Choose Your Divider Style
Select the preferred divider design and click “Save”.
Select divider design and click “Save”
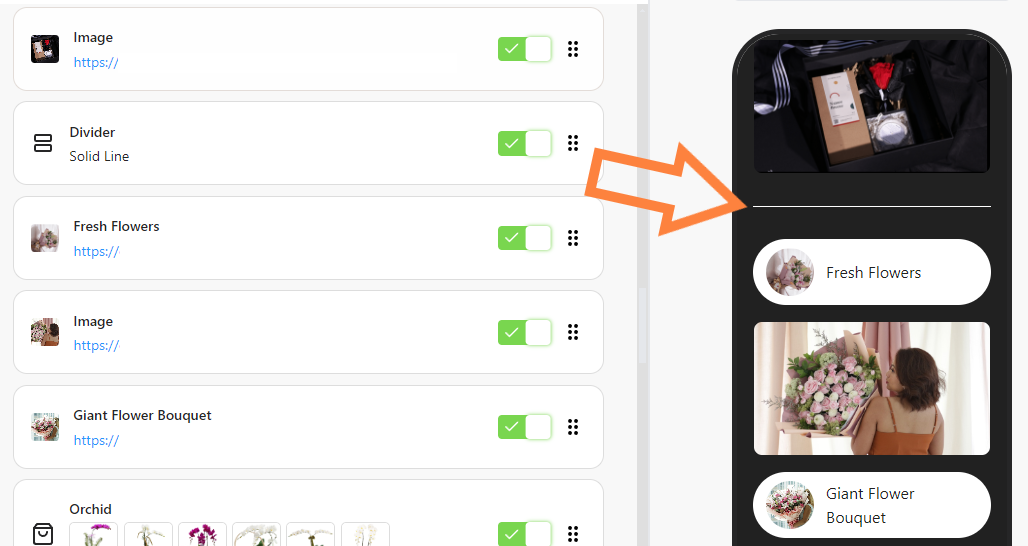
Step 4: Preview
Preview your page
Preview the divider on page
Was this page helpful?
Yes
No
Suggest edits
Raise issue
How to Add a Text Section
Previous
How to Add a Shoppable Link
Next
⌘I
 Click on “Add Section” and select “Divider”
 Select divider design and click “Save”
 Preview the divider on page