Step 1: Navigate to AI Studio
- Go to AI Studio dashboard, and click Create new agent.
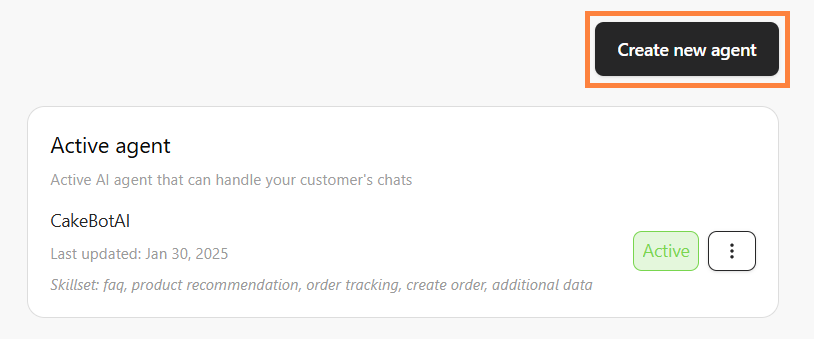 Click Create new agent
📌Note: You can add more multiple AI Agent if you want to test a new AI Agent
Click Create new agent
📌Note: You can add more multiple AI Agent if you want to test a new AI Agent
Step 2: Set Up the AI Model
- Choose an AI model.
 Choose an AI model
📌Note: GPT-o3 Mini requires an Standard Plan upgrade.
Choose an AI model
📌Note: GPT-o3 Mini requires an Standard Plan upgrade.
- Fill in Chatbot details: Chatbot name, Role, Brand name, Description that fit your business.
 Fill in Chatbot details: Chatbot name, Role, Brand name, Description
📌 Please note: In the Description field, provide as much detail as possible to help the AI better understand your business context.
Fill in Chatbot details: Chatbot name, Role, Brand name, Description
📌 Please note: In the Description field, provide as much detail as possible to help the AI better understand your business context.
Step 3: Set a Skillset
- Scroll down and find the Skillset section and choose one or more, click on a skill to adjust its settings by turn on the toggle for specific features and configure their settings:
- Product Recommendation: Suggest products based on customer preferences.
- Order Tracking: Provide real-time order status updates.
- FAQ: Answer customer inquiries using uploaded files.
- Create Order: Automatically generate orders based on customer preferences.
- Data Collection: Gather specific customer data for retargeting.
Step 4: Test Your AI Chatbot
- Once all settings are configured, test on the right side AI Playground start a conversation to check if the AI responds as expected.
 Congrats! Your AI chatbot is now ready to assist customers🚀